How To Create A Windows 8 Bootable USB Disk
Steps to create a Windows bootable USB disk:
Step
1: Click here and download WiNToBootic.
Step
2: Extract it where you want and run it.
Step
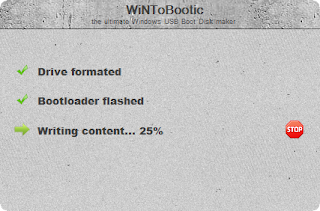
3: You should see a screen like the one below.
Step
4: Plug in the USB drive you want to use as the Windows
bootable USB disk, make sure that it’s empty.
Step
5: Now select your source file or directory. Here you can
select an ISO image or if you don’t have one, simply select the folder
where all the installation files are available.
Step
6: Click “Do it!” and wait for the process to complete, it
might take a while.
Once
this is done, your USB flash drive should be ready to install Windows
wherever you want. It’s always good to keep one USB flash drive as
backup with the setup of your operating system of choice in case of any
failures, since you can even run automatic or manual startup repair from
it instead of installing a completely new copy of it. It’s even helpful
if you want to install an operating system on ultrabooks or notebooks
with no optical disk drive included. For best results, use a USB
3.0 flash drive and of course, plug it into a USB 3.0 port on your PC or
laptop. So that was how to create a Windows bootable USB disk, join us in our facebook page...https://www.facebook.com/ComputersApplicationAndHackingTips?ref=stream


